Creating View Templates
From an Existing Dashboard
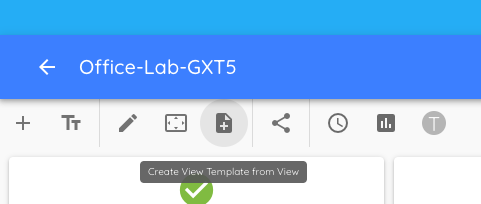
Permalink to “From an Existing Dashboard”Once you have created a dashboard that you would like to template (for a quick start on creating dashboards, see Create a Dashboard from our Getting Started guide), you can create a template directly from the dashboard page. Simply click the Create a template icon on the dashboard toolbar:
A preview screen will appear, showing you both the mobile and desktop versions of this view. You can edit each version by clicking the Edit button at the top. When you are happy with both layouts, click Finish.
This will bring you to a screen where you can name the template and label the devices that are attached to the template.

Labelling is especially important when you have multiple devices in the same template, as the labels will help tell the devices apart in the template. By default, the labels will be the names of the devices on the current dashboard. These labels will be saved to the template, so you may find that labeling them something more generic will be helpful.
Note that the devices themselves are not attached to the template - only the device library information will be stored with the template. This allows you to reuse the same template over and over for different devices.
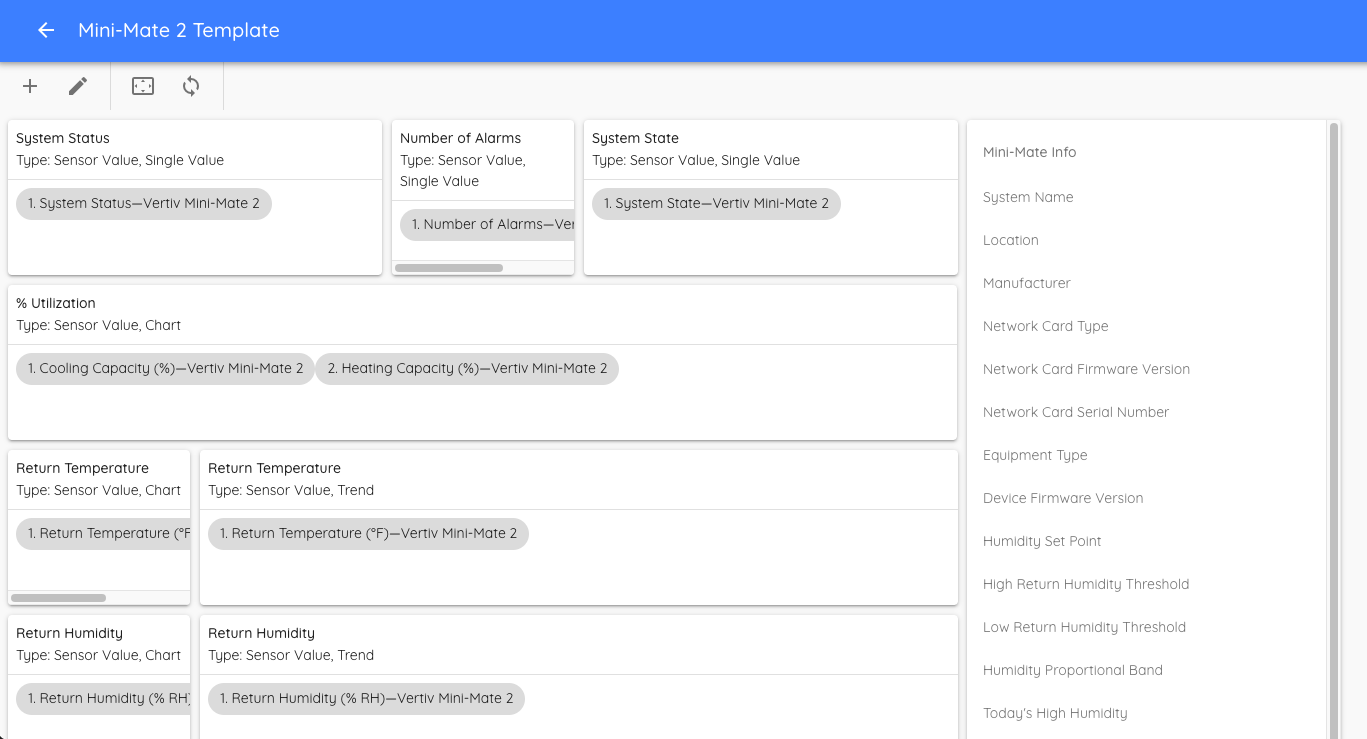
Once you have labeled everything, click Save. This will create your new template and take you to the template page for your new template.
From the Templates Page
Permalink to “From the Templates Page”In many cases, creating a template from a dashboard is the easiest and most straight-forward way to create a view template. However, in some cases, you may wish to build a view template from scratch without using a dashboard as a reference.
This can be done by opening the top-right menu and selecting View Templates from the menu options.

From the templates page, you can add a custom template by clicking the add button. This will take you to a blank template screen.
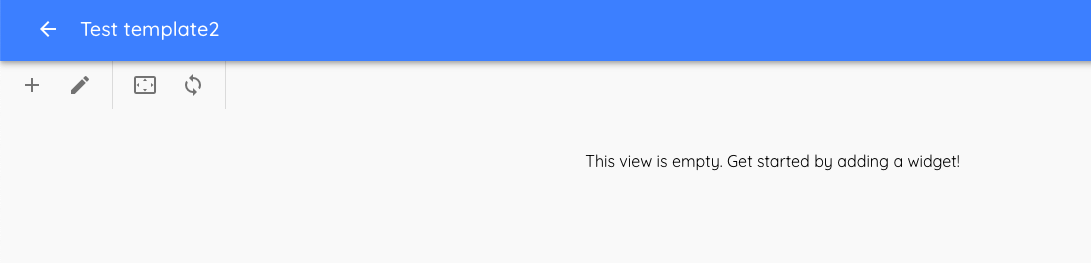
This screen is very similar to the dashboard screen, with similar options, but the interface is a bit different. From the template screen, you can drag and drop widgets, and when editing a widget, there is a popup wth all the widget options.
Otherwise, template creation has a very similar workflow to Creating a View.
Creating a Dashboard from a Template
Permalink to “Creating a Dashboard from a Template”Refer to Creating a View to learn how to create a dashboard from a view template.
Syncing Dashboards with a Template
Permalink to “Syncing Dashboards with a Template”When you update a template, your template will be out of sync with any dashboards that were previously created from the template. To re-sync these dashboards, you can click the sync button on the toolbar of the template page. This will open a pop-up with a list of all of your dashboards that currently use this template and are now out of sync.
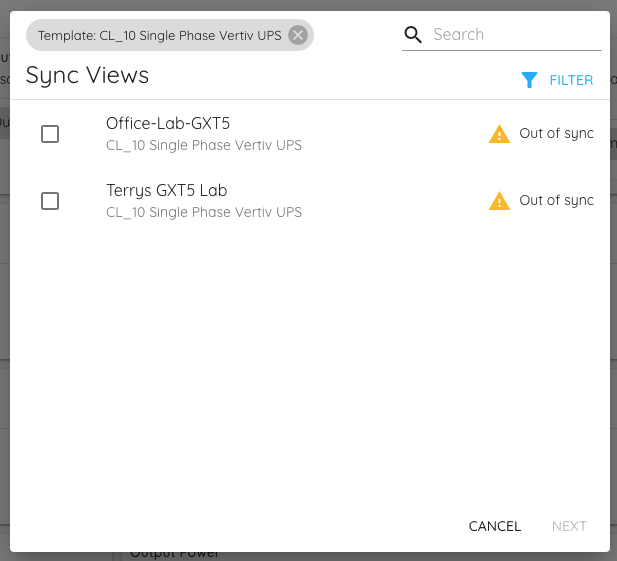
Note that you can remove the out-of-sync and template filters from the dashboard list if you want to apply your template to a dashboard that is not listed. You can apply any template to any dashboard, but there are extra steps involved if the dashboard devices do not line up with the template devices.
To sync your dashboards, simply select the dashboards you wish to sync and click Next. In most cases, Critical Labs will be able to automatically sync the template, but in some cases, the template will need help figuring out which devices in the template map to which devices in the dashboard. This can happen if the template is very old, if you add new devices to your template, or if you change the library(s) that your template is using.
If this happens, then you will get a screen like this:
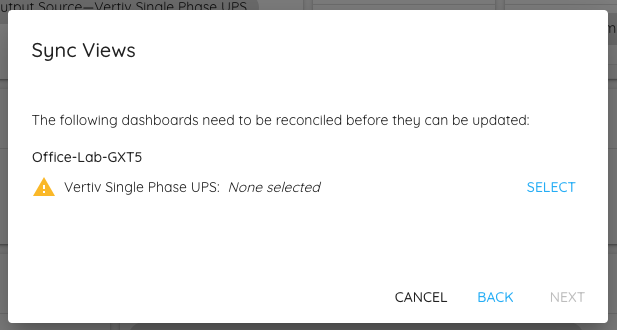
In this case, you need to select the devices that should be on your dashboard. You will notice that each device listed has a label. This label is useful for templates with multiple devices, as it will show you which widgets map to which devices within the template. Select the appropriate devices and click Next.
If you did not need to select any devices, or you have selected all of your devices, the preview screen will appear:
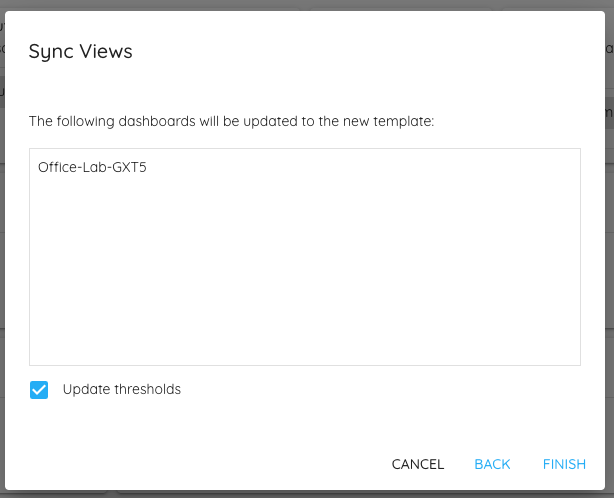
If Update Thresholds is selected, then the template will overwrite its templated thresholds onto all devices/sensors that are attached to the dashboards being updated. This is one easy way to keep alarm thresholds in sync across a large number of similar devices.
Make sure everything looks good before hitting Finish.
All of your selected dashboards will now be updated. A status icon will appear next to each dashboard as they are updated. When all the dashboards are complete, you can close the popup.
Your dashboards should now be synced to your new template! You can verify this by going to the views page and checking your dashboard(s) for the updates.