Inviting Users
- Invite them to your company account
- Permanently share a view with them
- Share a temporary view link with them
This guide will cover inviting users to your company account.
Inviting a User
Permalink to “Inviting a User”To invite a user to your company account, you will need the following:
- Full administrator rights (Full Access) to your company account
- The email(s) of the people you plan to invite
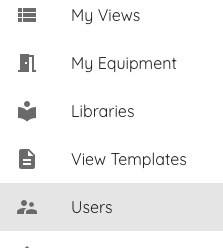
Open the top righthand menu and select Users.
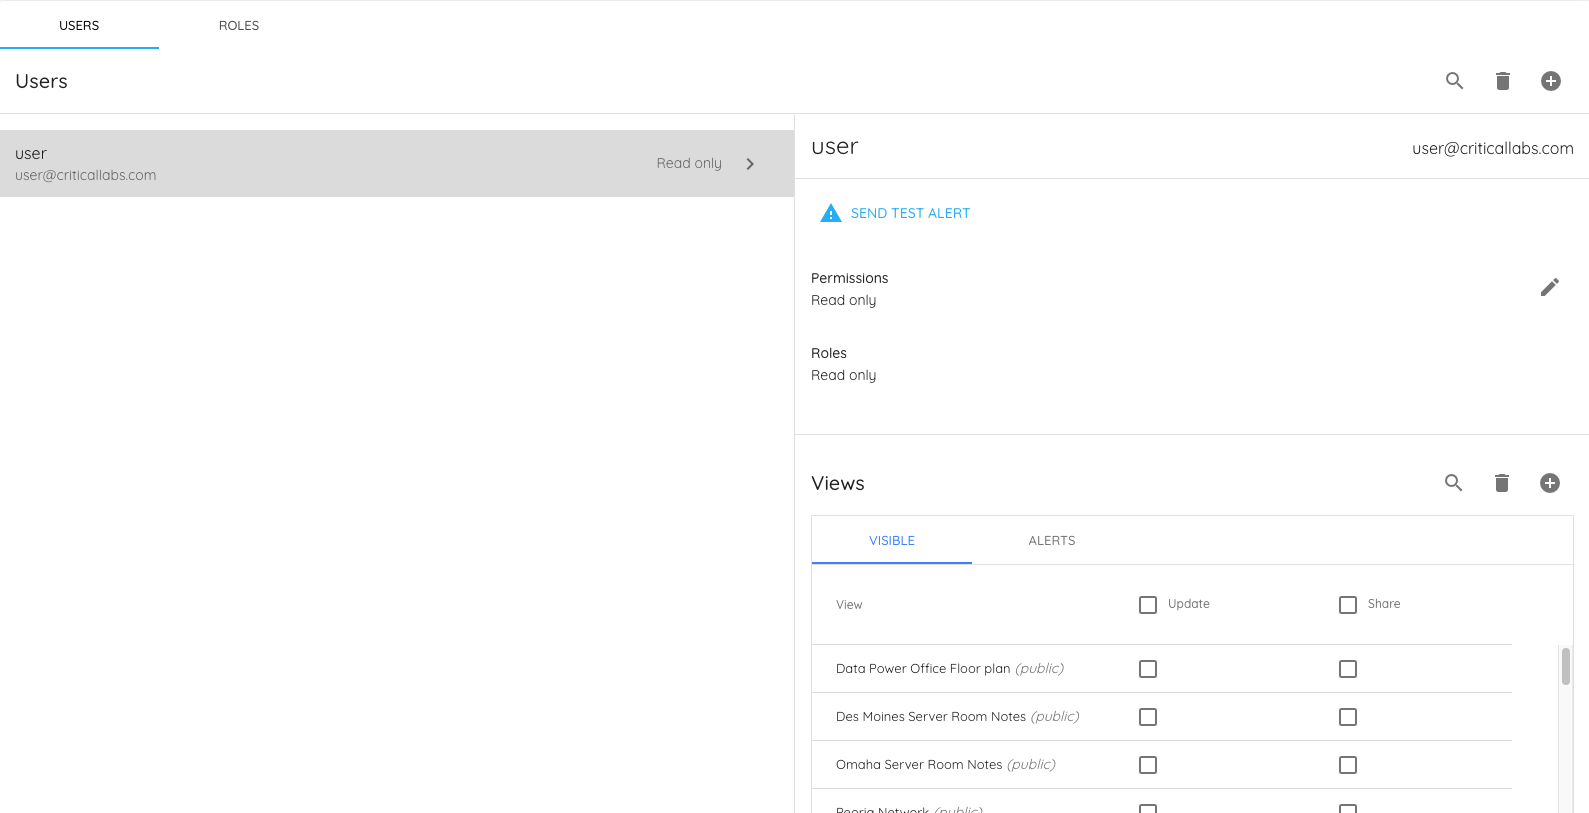
You should now be on the Users page. You should see a list of users (perhaps just yourself) with details on .
The following permissions are currently available in Critical Labs:
- Full Access. This gives full administrator privileges to a user, including the ability to see all public and private views within the account. A Full Access user can also add and set permissions for other users.
- Equipment & Gateways
- Can Manage This gives permission for a user to add and remove gateways, equipment, and sensors from Critical Labs. This user’s email also gets alerts when a gateway fails to check in to Critical Labs.
- Add/Edit Devices This gives permission for a user to add or edit devices, but not to delete them. This includes adding a removing sensors, updating thresholds, and creating views that automatically add sensors to devices. This permission does not include gateways.
- Delete Devices This permission allows a user to delete unlocked devices permanently.
- Set Devices to Maintenance This permission allows a user to turn maintenance mode on and off for any device.
- Can Share
- Everyone This user is allowed to share views that they have created with others, either with others within the company or with others outside the company.
- Company Users This permission allows a user to share private views with other users within the same company.
- Templates
- Create This user will be able to create view templates from views they have created. These view templates will be available to any user within the company account.
- Delete This permission allows the user to delete non-global view templates.
- Libraries
- Create This permission allows the creation of custom sensor libraries for a type of equipment. Libraries contain the protocol information for getting and understanding sensor data from equipment.
- Update This permission allows a user to update custom sensor libraries.
- Delete This permission allows a user to delete custom sensor libraries.
Click the add button to the top right of the users list.

A screen will appear asking for a list of emails to invite. This list may be separated by commas or each email may be on a separate line.
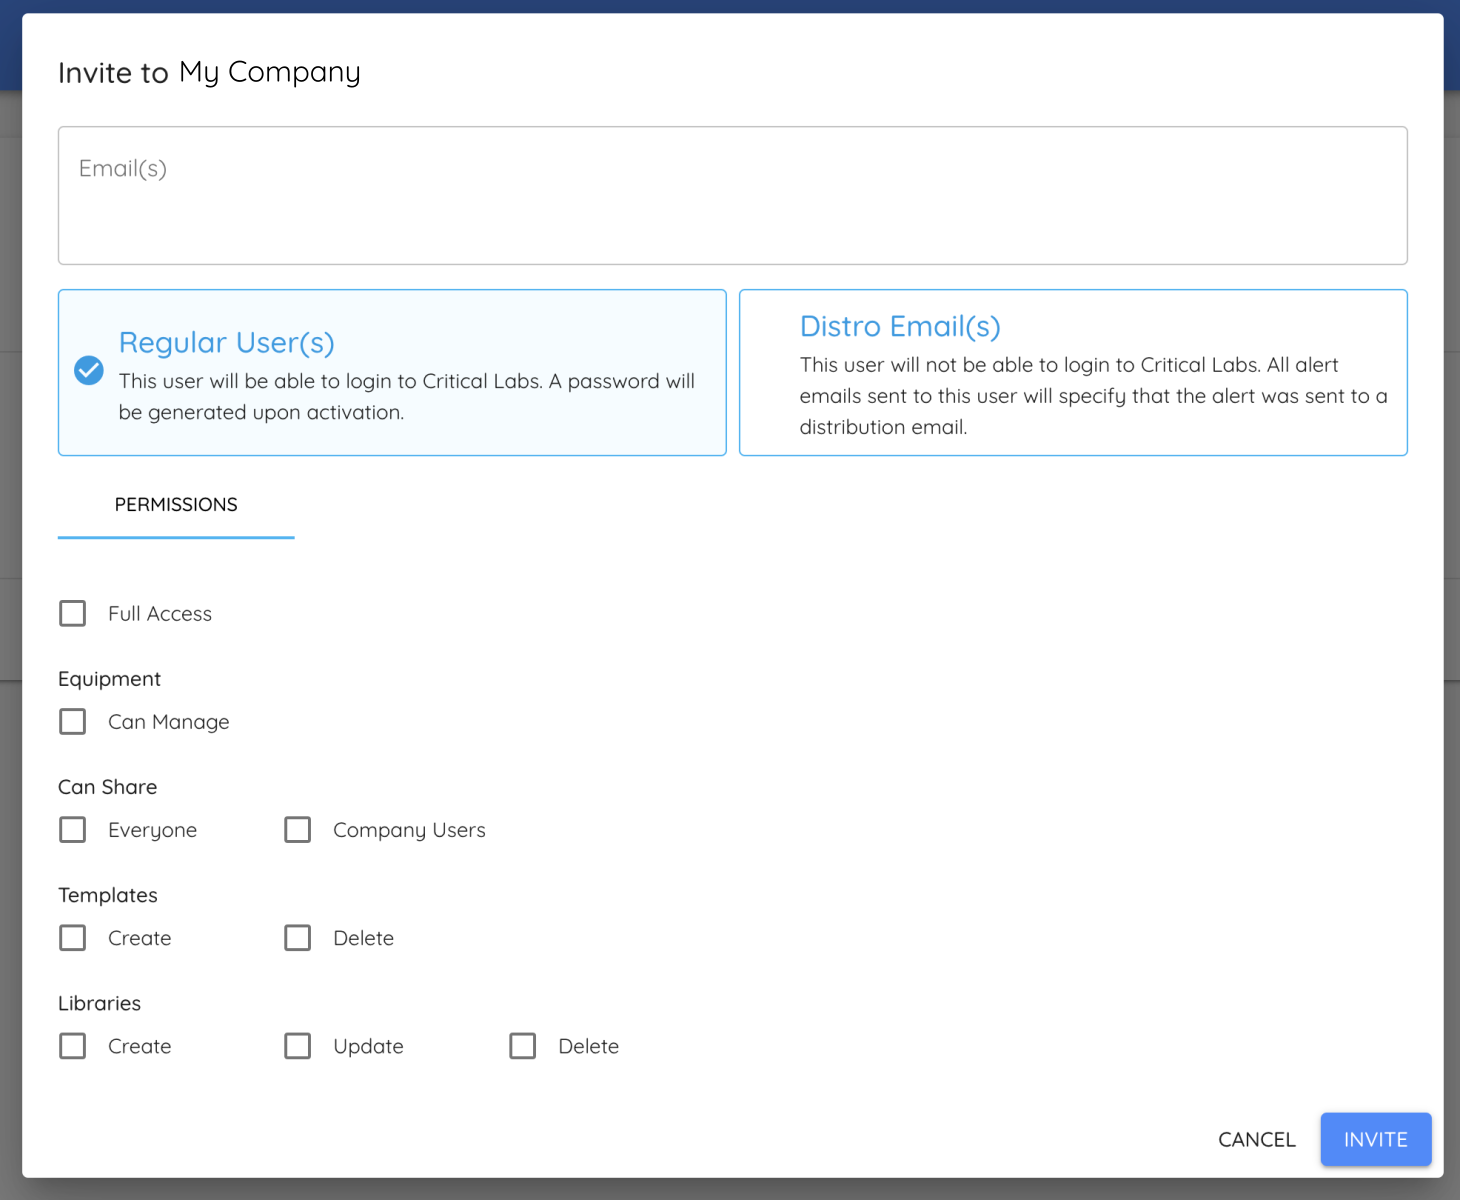
Make sure Regular User is selected.
Distro emails are available for company distribution lists. These “users” cannot login to Critical Labs, but they can be setup to receive alerts.
Assign appropriate permissions, as described above, and click Invite.
Critical Labs will now send invitation emails to all of the email addresses listed. Each user will have to confirm their login using the link provided in the email. This will allow them to setup a password so that they can login to Critical Labs.
Resending Invites/Testing Alerts
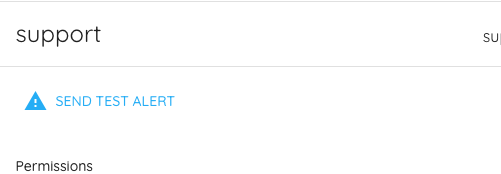
Permalink to “Resending Invites/Testing Alerts”Once you’ve added a user to your company account in Critical Labs, they will appear in the list of users. You can choose resend an invitation/verification link to their email or send a test alert to that user using the buttons under the user’s name.
Managing a User
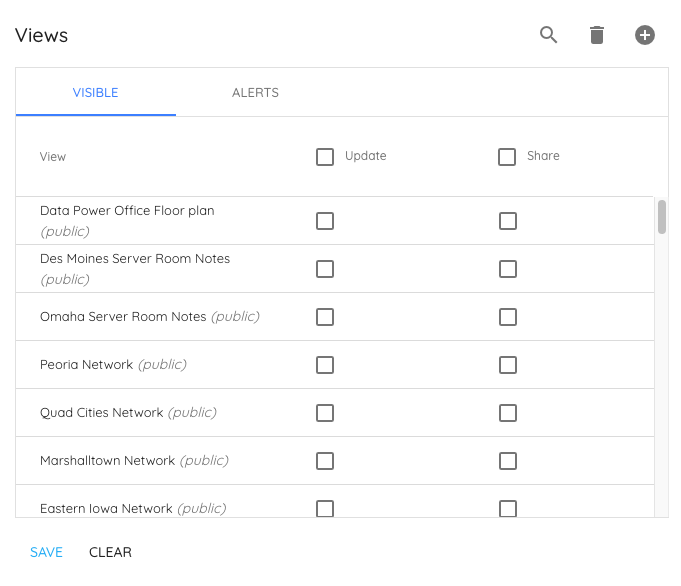
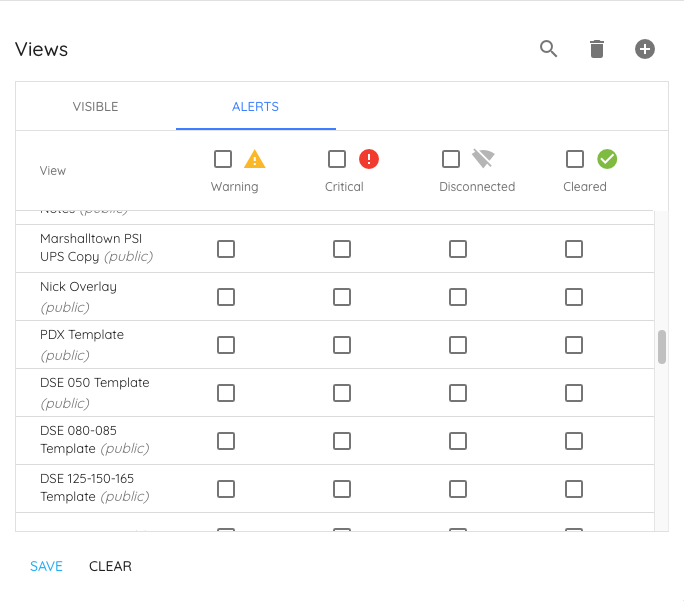
Permalink to “Managing a User”You can manage which views a user can see, as well as which alerts they will receive, directly from the Users page. View management is located on the bottom of the user panel, under the user's email and general application permissions.